Friday 17 April 2015

Spring Swap

My swap for the Spring Training was inspired by this swap I received from a Dutch Demo at European convention, which have a yummy treat inside...

My yummy treat was a different size so had to work out the size of card needed ... which is twice the length, twice the depth and a bit of overlap to hold the treat in. So for me it worked out at the length of the A4 card and 2.5" wide


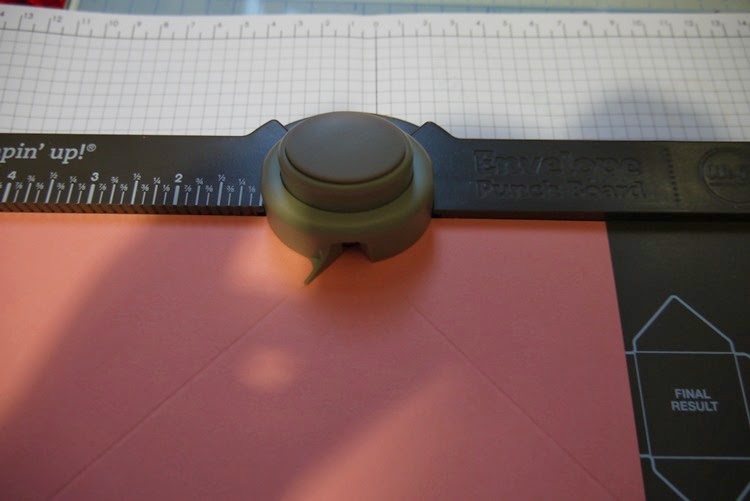
Then to the scoring of the card, which you need to get your treat and a ruler out... first score line needs to cover the length of your treat so for me it worked out at 3.75", then depth of treat (4⅛" for me), then length of treat (so up to 8" for me), another depth measure (8⅜"), then look at you overlap section and give your treat a reasonable length to be hugged in as well as for the flap to stick down (which for me meant a score at 10" and 10⅜")

Next step is to make the slot for your treat... I had done my width of card so that I had ½" of card either side so using a craft knife cut it along the crease lines for the holding flap and across at ½" in on each side. Then check your treat fits!


Now to the prettification! 

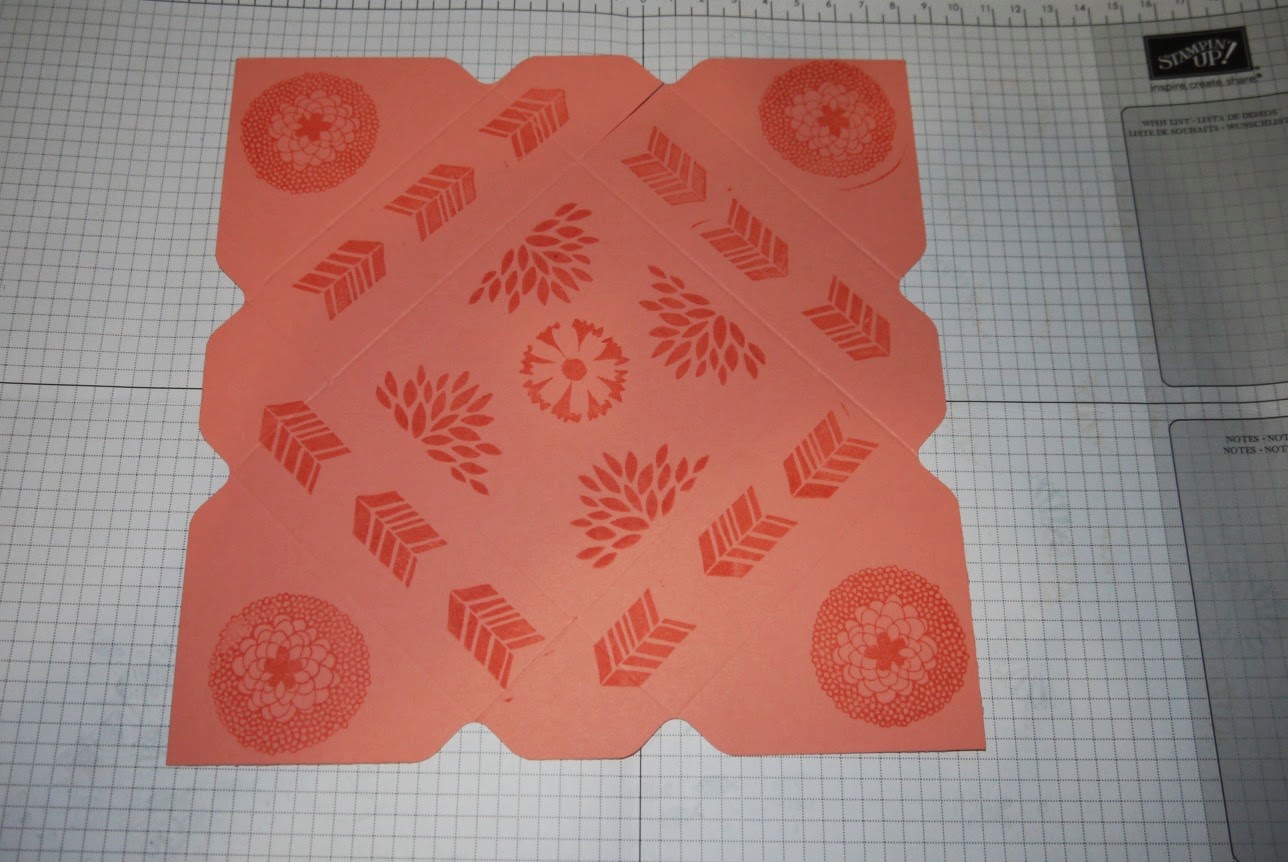
First off, a piece of the Gold Soiree DSP for the front cover, I used different designs for different flavours of chocolate stick treat... plus some double sided tape on the end flap to stick to the back cover.
Then to the sentiment... keeping with the 'for you' theme of the orginal I used this sentiment from 'Garden Party' set of stamps. I used a combination of the smallest sized of the SU labels Die set and Label from the Circle flip card die. Cut 1 sentiment and 2 backgrounds for each treat book.


Then onto the holding device for your treat book I used white seam binding ribbon which I inked up in colours on the papers, so Pistaschio Pudding, Calypso Coral and Crisp Cantaloupe and a set I kept white. Just use daubers or sponges to colour up the ribbon on both sides. Then use liquid glue over 1 background piece and lay the ribbon over, I worked out where to sit it for a central-ish location on the front cover and set it up so I placed it on the same place on the cutting mat, then laid the ribbon from the start of the mat. To use the method you end up working them upside down... 
Then a blob more liquid glue over the ribbon and place the sentment mounted background card to complete the ribbon part.


Nearly there! So next step is to wrap the ribbon around the treat book and tie some bakers twine to hold the ribbon in place, you want it pretty tight so I found it easier to tie the twine while still on the card to get a tight knot then cut to get the right length, rather than lots of short bits. I used gold twine but found the gold bits wanted to unwind for me (but not my orginal swap :( ) (sorry for the upside down photo on the right... blogger won't upload the rotated version!). Slide the twine allow the ribbon to loosen and slide off the treat book to get at the chocolate!


Ta-Dah! The four colour and paper combinations on offer... 


Overdue Tealight Swap

A long time, lots of contract documents with work and a bit of mojo diversion to knitting for a while ... but time to catch up on make posts!

First off from way back in October when I headed to Brussels for the Stampin Up European Convention.. it was a blast, as best described to those who have experienced international Guide & Scout camps as ... an international camp for crafters with craft swaps instead of badges! 

So onto my swap ... a decorated tealight in a little box. I found myself "Ce une bougie dans la boite" to French demos a lot (don't know it in German...). 

So to start with the tealight... 
Punch out a 1" circle in white tissue (for a decent cut when using tissue paper, fold to 2-3layers and wrap in copier paper). 
Stamp design on the tissue circle (circular ones work best) and cut a cross slit in the middle to slip over the wick. Then with a heat gun melt the wax slightly so the tissue becomes embedded. 

 Then using the envelope punch board I made little boxes for the tealights to go into. Start with a 4" square piece of card. Starting punch dimensions on the board for both rounds on the envelope was the same, I think 1.5". 

Stamp your box, I used Endless Wishes from the Autumn Winter 2014 SU catalogue in Lost Lagoon, Wisteria Wonder, Smokey Slate and Pool Party. It was lovely snowflake design which appeared on a lot of my stamped items over this period!

Then I cut 1cm strips to form a belly band to hold the box shut which had a festive sentiment in the colour scheme I was using.


I had a bit of production line going to make up a pack of 100 Ikea tealights into these little goodies.... and in exchange got lots of swaps to inspire, and it was lovely to see some of the SU stamps a little differently in German and French!

Sunday 28 September 2014

Festive Swap!

So after a long gap on the posts I'm back in creative mode with paper after a bit of a knitting interlude during the summer (but 2 kids jumpers are now done!). Its swap season here with Quaterly Training yesterday and Stampin Up! Convention in Brussels in 2.5 weeks time! 

So now the first swap has been given out here it is and how to make it... 

The final product....Festive Magnets for your Christmas Lists

 The base for these was a kids wooden domino, which was sanded give a rough surface for glue to key into.. but on these ones meant the paper the print was on loosened so I could remove it to expose the wooden base. 

Then its the sticking and waiting phase ...I used the Trim the Tree paper stack and got 6 dominos on a sheet, stuck down with liquid glue which then had a book placed ontop so they dried nice and flat.... once dried they were trimmed up for the patterned paper side then glued onto cardstock which compliments the papers, in this case Cherry Cobbler or Garden Green. I went with opposites so red based patterns had green backs as seen on this photo... before it went under a book to keep flat while the glue dried.


Once the glue was all dried, trim the paper/ card with a craft knife (a glass mat works best for sharp cuts on things like this), then sand for smooth edges. Then add a strip of adhesive magnetic strip which you can buy in rolls. 

Final bit was to add the snowman which comes from the White Christmas stamp set, which I used SU Markers in Cherry Cobbler, Garden Green for the hat and scarf and then Tangelo Twist (a 2014-16 in colour). Half a dimensional on the back to finish it off, they were then put in pouches made from the label for the materials used.

Saturday 12 July 2014

Flower Shop Swap

A busy few months putting sea defences back together has meant a lack of posts... but the lovely sunny weather has helped keep the seas calm...

Today was quarterly training for the Stampin' Up group I'm with, as part of this we make a swap to share with the other demonstrators to share around inpsiration... I went with the new 2014-16 In Colours as base and had this as my swap to share.


The flowers are from the really versatile stamp set 'Flower Shop' combined with the Pansy Punch. The is a knack to make punching them out easily... there is one petal with a double bump (look at the bottom green petal) and this is at the back of the punch so stamp this petal to the edge of your card for easy punching. There are U-tube videos available to show this in more detail. 

The 2014-16 In Colours from left to right are: Lost Lagoon, Hello Honey, Blackberry Bliss, Mossy Meadow & Tangelo Twist.

Having stamped the flowers on very vanilla card I needed a coloured background to show the flowers off... and I felt kraft tones would suit the vanilla tone base so went for Crumb Cake cardstock. 

I don't have the Crumb Cake ink pad for tone on tone stamping so went for my favoured Baked Brown Sugar ink pad which has worked well. On the Crumb Cake are the 'Flowering Flourishes' at the bottom then my favourite sentiment stamp of the moment 'Life doesn't have to to be perfect to be wonderful' which comes from Perfect Pennants.

In reply I've received lots of inspiring ideas many using new catalogue items which is lovely to sometimes see things in real life rather than in the catalogue! Will study them in more detail over the next few days and maybe make versions of my own!

Friday 21 February 2014

Birthday Boy!

Yesterday it was Tom's birthday ... so 1st on the list when I got the chance to craft the other night was his birthday card!

I went for the new trusty favourite of Banner Blast and punch and teamed it with the 'See Ya Later' Sale-A-Bration set using the Birthday stamp in it for the wording in it ... as last year was a significant birthday!

As for the colouring ... well Yellow is Tom's favourite colour so that was at the starting point

 A quick dash downstairs to ask his favourite colours (well after yellow) and reply came purple ... well I'd decided it should be 'brights' colour family so colour number two was Rich Razzleberry, I only have cardstock in that colour and no stamp pad yet (but can see that will soon come as its a colour I'm loving in combination with lots of others). So out came the rectangle framelits for the main stamp and mat ... and the Festive piercing pack came out for a bit of embellishment. I tried with a needle orginally but found the SU paper piercer is worth buying as it fits the holes unlike my original non-SU one.. 


Then came in the third colour in my combo, Bermuda Bay for the banners to go top and bottom. I twisted some bakers twine I already had and gold thread to give a little glitzy finish to the hanging line as I didn't have any of the SU gold bakers twine which its lovely for a little sparkle on items.
The twine was lined up by placing the card design face down on the grid paper so I could line up where on the other end it needed to come in... Grid paper is so useful when trying to line up items or designing out items to give an idea of size. With the twine taped to the inside face I put in copier paper insert to hide the ends ... and used some of the left over banners to decorate. Then keeping the banner theme used the Happy Birthday banner from the hostess set.
...and the card was happily received on Thursday along with a Goldfrapp ticket for later in the year ... and Lego movie as the birthday treat (we are a Lego loving household ... Everything is Awesome!)

I think the Daffodil Delight and Bermuda Bay combination will be reappearing on some more of my papercrafts soon!

Tuesday 18 February 2014

SAB Banner time!

The storm on friday hit our coastline with a lot of force, so we have some damaged defences which means its been a busy week with the build up prep and the post storm actions/ works.

But tonight I got the chance to spend some time in the spare room crafting, first off Tom's birthday card for Thursday (that will appear here once the birthday boy has received it).

Once that was done it was onto the SAB Banner kit I'd been wanting to create. I'd decided it would go into our spare room (which also has the craft stash in) so I wanted a sleep/ welcoming phrase but with only 9 banners in the kit the words used took a while. I started with 'Good Night' but with the mix banner sizes and some larger letters that didn't work out... other phrases I came up with had 10 letters ... so asked Tom for a 9 letter phrase for the bedroom... he suggested 'Sleep well' which was close to some of phrases I had!

Some sponging with Pear Pizazz, Pool Party and Wisteria Wonder later and the banner was done, all pretty quickly! The letters are from the Banner Kit in the Autumn/ Winter catalogue (which will eventually get made into a banner for my neice and nephew's bedroom once I get the chance to sit down with my sister to make it up in colours the kids like/ go with their room).
Ta - Dah its up! Other than needing to swap the green e's around so I don't have two pointy banners next to each other! But its bedtime so that will get re-threaded later in the week when I get the time. But hopefully its the start of making the room a little more welcoming!

Sunday 9 February 2014

Boxes Galore using the SU Envelope Punch Board!

Back to the original box of my current flurry which started things off.
I wanted to create something that would combine to give people a free goodie on Sale-A-Bration when you spend £45 until the end of March. This combined the In Colour 2013-15 ink pad and card set and the Starburst Sayings bundle. For the walkthrough version I went for the same In Colour card and stamp pad set and worked out that with the Envelope Punch Board that would take you to Sale-A-Bration ... so chose to use the Sale-A-Bration 'Petal Parade' stamp set, as there is no sentiment with this set I used the Hostess Set 'Sweetly Framed' for the label stamping on the top of the box. Below is the end product...
Start with an 8"x8" square of card and score at 3" to start your first envelope.
Then using your longer end on the square, start to punch the second envelope that will make it into a box... cut in 1 score line all round to give you the flaps to make your box.
While it's flat, stamp your design. I went for each stamp on a different section of the box. I use tape for most things, for a better formed box put a strip along the score line of the flap.
Next to the band that will hold the box closed. I tend to use the offcut strips from making an 8"x8" square from a sheet of A4 card, so that's what we have here... although it needed a but more than 8" in length as its a smaller label so this one has a join underneath. Decorate as you wish and sort out your top label...
Now make up your box, gently make the folds to wrap your holding band around the box. Then crease these folds more so it forms the band. Then wrap around again with a bit of double sided tape at the end of your strip and lightly stick the tape to the underneath of the label, take it off and press down to secure the label on the band. Slip back on and ta-dah! Your box is complete.
You can also make little boxes for favours etc. from 6x6 starting squares with a starting envelope score at 2" for both envelopes or a tall box from a sheet of 8"x8" card and starting score of 2" for both envelopes.

Saturday 8 February 2014

So to the first craft sneek peek, a box made using the Stampin' Up envelope punch board. I bought it so I could make envelopes for little cards that I like to make but struggle to get envelopes... but after quarterly training where we used it to make a box, well it ran from there to this...
So tomorrow I'll take photo sequence so you can make your own boxes. This one is made using Island Indigo card, with Crushed Curry band. The stamp set is Starburst Sayings combined with the matching die set.
Time for a restart on this blog which never really got going, but with a new venture as Stampin' Up Demonstrator I feel its time to refresh and share my crafty moments via this blog.

Wednesday 23 September 2009

Welcome...

Its time for a more focused blog on the thing that provides my preferred form of stress relief... papercrafting!

Its mainly going to be scrapbooking with the odd card on the way ... hopefully it inspires and maybe will drive me to push my crafting boundaries.